Preparing a home for listing photos is less about decorating from scratch than removing distractions that keep a buyer from reading the space. The camera records every countertop item, cord, reflection, and parked car. A person walking through a room may overlook those details. In a still image, they remain fixed in place. A little preparation before the photographer arrives can make the entire gallery feel calmer and more accurate.
Start by walking through the home with a phone camera. Take a frame from each doorway and look at the result as if you did not live there. Where does your eye go first? What blocks a clear view of the room? You do not need to erase signs that people have lived in a house, but you do need to make the layout and surfaces easy to see. This guide moves room by room, then covers weather, drone, twilight, and a checklist you can print.
Prepare a home for listing photos before shoot day
Choose one person to coordinate the rooms. Share the appointment time with everyone who lives there and explain that the home should be ready when the photographer arrives. Photography is not the same as staging or cleaning. A photographer can make small adjustments to a pillow or lamp, but cannot clear a kitchen, move heavy furniture, hide personal paperwork, or supervise pets while working.
Make a plan for items you will temporarily remove. A tidy closet, garage, or car may work for a few small things, provided that space will not be photographed. If the garage is a selling feature, do not fill it with everything from the house. It is better to edit clutter ahead of time than to shift it between rooms as the camera moves.
Clean windows and mirrors. Dust visible shelves and wipe reflective surfaces. Smudges on a dark refrigerator or glass patio door become prominent when light hits them. Check ceiling fans, vents, and corners where a wide lens may show something you normally do not notice. Then test all lights, replace burned-out bulbs, and consider matching bulb color within each room. The photographer can decide when to turn fixtures on.
Set a clear stopping point
Try to finish the main preparation before the appointment, not during it. A final pass can handle small items, but an active cleanup delays the shoot and can leave some rooms looking inconsistent. Ask another person to do a walkthrough once you think the house is done. Fresh eyes will notice the shopping bag beside the sofa or the shoes behind the door.
If a room cannot be ready, tell the agent and photographer in advance. They can plan the route through the home or decide whether to reschedule. Hiding a space without discussion can create a confusing listing when a buyer notices it is missing.
Kitchen and dining room checklist
Clear countertops enough to show usable preparation space. Put away dish soap, sponges, drying racks, pill bottles, mail, chargers, and small appliances that crowd the frame. One simple arrangement, such as a bowl of fruit, can give scale without becoming the subject. Wipe the backsplash, sink, range, cabinet fronts, and stainless steel. Close cabinet doors and pull out any visible towels that are stained or wrinkled.
Remove magnets and papers from the refrigerator if they draw the eye away from the kitchen. Hide trash bins where practical. If there is an island, show its full shape rather than covering it with décor. Set dining chairs evenly and check whether a table leaf changes the sense of space. If the breakfast area is small, fewer chairs may make the circulation path clearer, but do not change fixtures or built-ins to misrepresent the home.
Open or close window treatments consistently. A bright window behind a dark kitchen needs careful exposure, so the photographer may fine-tune blinds for the shot. Do not assume every shade must be raised: privacy, glare, and a neighbor's wall may affect the decision. Let the room's real strengths guide it.
Bathrooms and laundry rooms
Bathrooms photograph best when surfaces are almost empty. Remove toothbrushes, razors, soaps, bath toys, toilet brushes, extra rolls, and personal care products. Put down the toilet lid. Clean mirrors, shower glass, faucets, and tile. Straighten towels and use a small set in one color if possible. A visible shower curtain should hang neatly and reveal enough of the shower to understand the space.
A narrow bathroom does not need a decorative collection to look complete. Clear counters let buyers see storage, fixtures, and light. Check for water spots after cleaning. A bathroom can look spotless in person and still show streaks in a close interior photograph.
In the laundry room, tuck detergent and cleaning supplies away if the shelves allow it. Close appliance doors and straighten baskets. If the room doubles as a mudroom, show the entry and storage together. Avoid hiding the actual use of the space behind an artificial setup.
Bedrooms, closets and living areas
Make beds with smooth, simple bedding and align pillows. Remove charging cables, laundry, pet beds, portable fans, and stacks of clothing. Bedside tables should have room to breathe. If a bedroom serves as an office, decide whether the listing should show both functions. A tidy desk can help, but two crowded purposes may make the room feel smaller than it is.
Straighten rugs and check their edges. In a living room, arrange seating so pathways are visible from the main photograph. Hide remote controls, loose cords, gaming equipment, and excessive small décor. Turn off televisions and computer screens. A black screen can become a large visual anchor; the photographer may alter the angle to reduce glare.
For closets, decide with the agent whether interior photos add value. A walk-in closet with built-in storage often does. If it will be photographed, hang clothes neatly, clear the floor, and reduce overfilled shelves. Do not cram everything removed from other rooms into the closet and then expect it to become part of the gallery.
Personal items and privacy
Take down photographs, diplomas, calendars, notes, mail, and anything that identifies children or schedules. Remove valuables, weapons, prescriptions, and security-system information from view. Do not rely on editing to remove sensitive details later. Once a photo is uploaded to a listing portal, copies can circulate beyond the original post.
Personal touches need not disappear entirely. The aim is to make it easy for strangers to imagine using the space and to protect the people who currently live there. If you are unsure about an object, ask whether it explains the home or mainly tells the owner's story.
Exterior, yard and garage preparation
The first exterior image often becomes the search thumbnail. Move cars away from the front elevation and driveway. Put away bins, hoses, toys, tools, yard signs that should not appear, and loose planters. Sweep the porch and walks. Open gates if access to the yard is part of the plan, but close them again for any view where that looks cleaner and safer.
Trim or tie back vegetation that blocks an entry or window, without undertaking last-minute landscape work that leaves debris. Mow if the lawn is actively growing and clear visible weeds from hardscape. Check patio furniture for dust and straighten cushions. A deck should show how it can be used, not become a storage area for pool supplies or winter covers.
If the garage will be photographed, park cars elsewhere and give the floor and storage a deliberate arrangement. Leave enough open space to understand capacity. A packed garage does not need to be emptied completely, but stacked boxes should not obscure the features being advertised.
Prepare for drone images
Aerial views reveal the whole lot, not just the polished front porch. Look for bins beside the house, tarps, uncovered equipment, vehicles in the side yard, and hoses visible from above. Check whether a neighbor's property or nearby construction changes the story. You cannot control neighboring land, and an aerial should never imply a boundary that is not documented. Supply the photographer with a survey or boundary reference if lot extent is important; do not ask them to guess where the property ends.
A drone flight depends on airspace and weather, so confirm whether it is planned rather than assuming it will happen on every shoot. You can read more about drone real estate photography in Colorado.
Lights, blinds, pets and people
Test switches, but leave the final lighting arrangement to the photographer. Mixing bright daylight with bulbs of different colors can create unnatural patches. If a fixture is broken, disclose it before arrival. Open blinds enough to show natural light, then let the photographer adjust them if glare or exposure becomes a problem. Keep window treatments symmetrical when possible.
Pets should be safely away from camera paths. Arrange an off-site visit, a walk with a family member, or a quiet room that will not be photographed during that phase. Put away bowls, litter boxes, toys, crates, and leashes from rooms that will appear in the gallery. Do not leave an animal loose in a yard while drone work is being considered. The operator may decide a flight is not appropriate if people or animals cannot be kept clear.
Plan for occupants to step out or stay in a separate area. Reflections in mirrors, glass, and appliances easily capture people. A photographer moving between rooms needs predictable access and a quiet space to check each composition.
Seasonal preparation for listing photos
In winter, shovel paths and steps, clear snow from outdoor features you want to show, and check for icicles or slick approaches. Fresh snow can look beautiful, but it can also hide a deck, driveway edge, or landscaped yard. If a key exterior feature is buried, consider whether an additional image after conditions improve would be useful. Do not substitute an old seasonal image without making sure it still accurately reflects the current property.
In spring, dormant lawns are common along the Front Range. Avoid trying to make the grass look unrealistically green in editing. Instead, emphasize the house, hardscape, and usable outdoor zones. In summer, schedule irrigation so surfaces are not wet right before the shoot. In fall, remove leaves from walks, stairs, decks, and rooflines where reachable safely. Wind can undo a tidy yard quickly, so leave time for a final sweep.
Mountain properties may have different access and snow conditions from a home in town. Tell the photographer about gate codes, steep drives, and weather-sensitive routes. A safe approach is more important than getting a particular exterior angle.
Twilight preparation
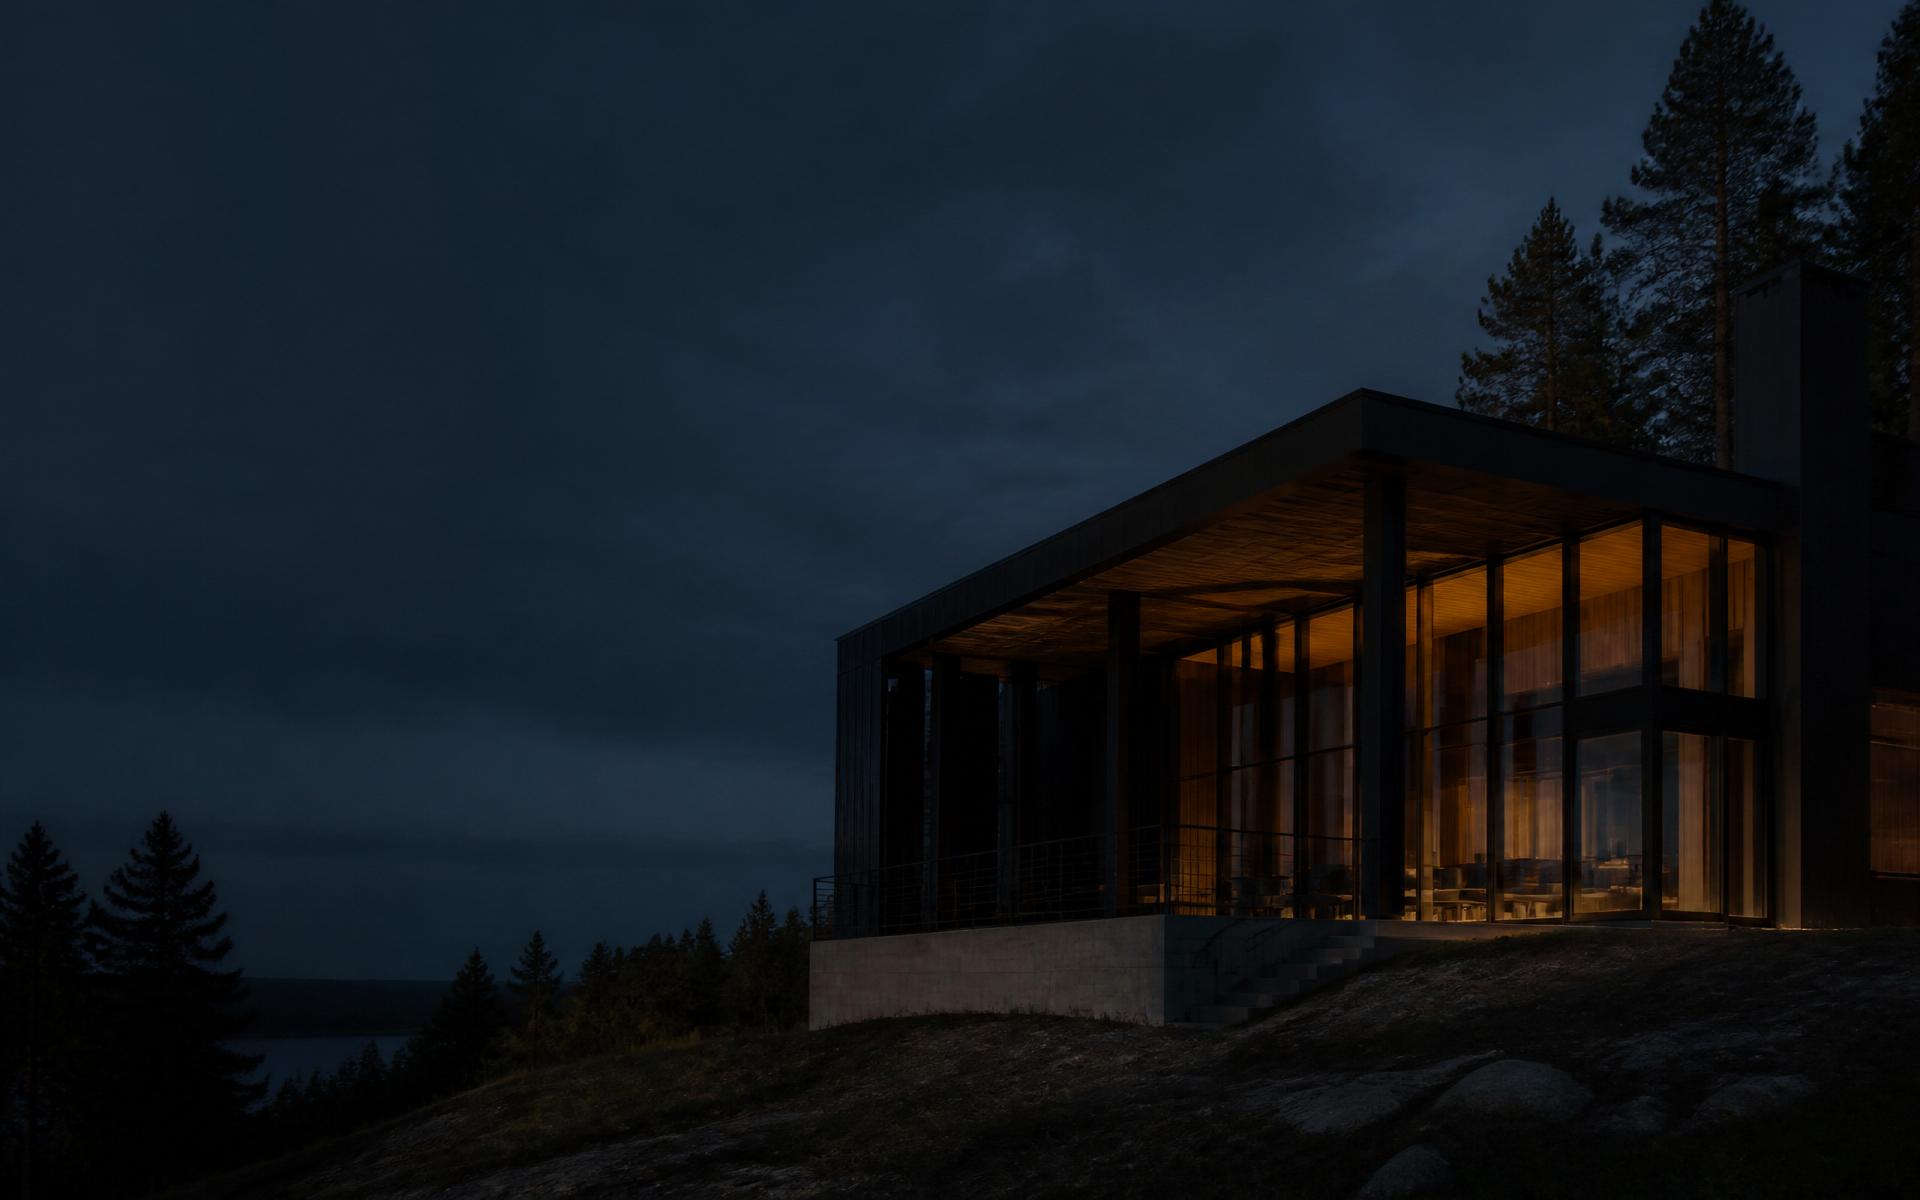
For an actual twilight shoot, test every exterior and interior light that will be visible through windows. Clear the patio and make sure entry, deck, and landscape lighting works. Decide which rooms should glow from inside. The usable light window is brief, so all staging and cleaning must be finished beforehand. A virtual twilight edit is a different process. If used, it should keep the house and its surroundings truthful and follow applicable local MLS disclosure rules.
What a photographer will and will not move
Expect the photographer to adjust small objects that affect a frame: a chair angle, a crooked pillow, or an open cabinet door. Do not expect them to move furniture, clean surfaces, pack valuables, handle pets, or rearrange a whole room. Those tasks can create damage or delay and are best handled by the owner, seller, or a staging professional.
Tell the photographer about fragile objects and spaces that cannot be entered. If furniture needs to move, have it done before arrival. When in doubt, ask ahead rather than assuming a photographer can solve a room in editing. Removing clutter before the shoot usually produces more coherent images than digital cleanup afterward.
Printable listing photo preparation checklist
Print this section or copy it into your appointment notes. Mark each item only after you have checked it in the actual room.
- Confirm shoot time, access instructions, weather plan, and rooms to photograph.
- Clear kitchen counters, sink, refrigerator front, and dining table.
- Clean mirrors, shower glass, faucets, windows, and reflective appliances.
- Remove toiletries, visible medications, mail, family photos, and sensitive information.
- Make beds, align chairs and rugs, and put away cords and remotes.
- Test lights and straighten blinds or curtains throughout the home.
- Arrange for pets and occupants to be out of camera paths.
- Move cars from the driveway and clear bins, hoses, and tools from the exterior.
- Sweep entries, patio, deck, and visible walkways; prepare the yard for the season.
- Check garage, closets, and laundry if they are part of the photo plan.
- If drone is planned, review the whole lot and provide boundary information when relevant.
- If twilight is planned, test outdoor lights before the appointment.
The checklist is not a demand for a perfect house. It is a way to protect shoot time for what matters: clear, accurate pictures that show the property rather than the work still in progress. If you are deciding which rooms need special attention, see our real estate media or talk to us about the property.